Finding pages and reports with the role explorer
By using preview, you agree to follow by the terms of use. By using preview, you agree to the terms of use.
You can get an overview of the pages and reports that make up the features that people your business role often use. You can also explore what's available for other roles. This article refers to the overview of pages and reports as the role explorer.
In addition to the overview, the role explorer lets you open pages or reports to explore the information they include. You can also use the role explorer as a way to get around in Business Central.
Tip
Tip:
Take free e-learning content about the Business Central user interface in Microsoft training.
Open the role explorer
You can open the role explorer from role centers, list pages, and the Tell Me window.
- On your role center or any list page, select the
 button or select Shift+F12.
 - In the Tell Me window, select the exploring pages action.
Open the role explorer filtered to show reports
You can open the role explorer in a filtered view that only shows reports:
- On your role center or any list page, select the All Reports action.
- In the Tell Me window, select the exploring reports action.
Open pages and reports
The actions that open pages or reports are organized under nodes that are named after application areas. You can collapse or expand each node individually, or all nodes together.
- To expand/collapse an individual top-level or subnode, select the node.
- To expand/collapse all top-level nodes on the page, but leave the subnodes as they are, select ... at the top, then select Expand or Collapse.
- To expand/collapse all top-levels node and all subnodes under it, select ... at the top, then select the Expand All or Collapse All action.
Search for pages and reports
To quickly locate a page or report, select the Find box near the top of the explorer, and then enter a word or phrase for what you want to find. Role explorer highlights any matching text. If the page or report is hidden in a collapsed node, the collapsed node is marked with a dot.
Try advanced (preview)
[This section is prerelease documentation and is subject to change.]
Important
Important:
- This is a production ready preview feature.
- Production ready previews are subject to supplemental terms of use. To learn more, go to Supplemental terms of use for Dynamics 365 preview.
If you don't find a match or aren't sure of the exact name of what you're looking for, select Try Advanced (preview) under the Find box to open the Advanced tab in Tell Me window and get more results. The Advanced tab uses AI-powered semantic search, so it finds results based on the meaning of your search instead of just matching exact words. You can type short descriptive phrases or full sentences in plain, everyday language. For example, you can type in natural language like "report that shows my best customers" to find the Customer - Top 10 report.
Learn more about advanced Tell Me in Finding pages and information with Tell Me.
Note
Note:
Advanced is available in Business Central online only, not on-premises, and only when an admin enables Feature: Advanced Tell Me (preview) in the Feature Management page. Learn more in Feature Management.
Explore other roles
To explore roles other than your own, select Explore more roles. Role explorer displays each role under its own heading, with links to its features. You can find and go to features just like you do when exploring your role.
Note
Note:
You can only access roles that are set up to show in the role explorer. If a role isn't available, it probably isn't set up to show. To learn more, go to Manage Profiles.
When you explore other roles, you can also narrow down your exploration by using the Report & Analysis and Administration actions.
- Report & Analysis filters the role explorer to show only reports and analysis features.
- Administration filters the role explorer to show only pages for administrative tasks, such as pages related to how you set up your Business Central.
Tip
Tip:
For developers, you categorize pages and reports by setting the UsageCategory property in the object's AL code.
Expand and collapse nodes
The actions that open pages or reports are organized under nodes named after the features or application areas. You can collapse or expand each node individually, and you can collapse or expand all nodes.
- To expand or collapse a top-level or subnode, select the node.
- To expand or collapse all top-level nodes on the page, select the Expand or Collapse action.
- To expand or collapse all top-level nodes and their subnodes:
- Select the Ctrl+Shift keys while you select the Expand or Collapse action.
- select ..., and then select the Expand All or Collapse All action.
Learn more about a page or report
APPLIES TO: Business Central 2025 release wave 1 and later.
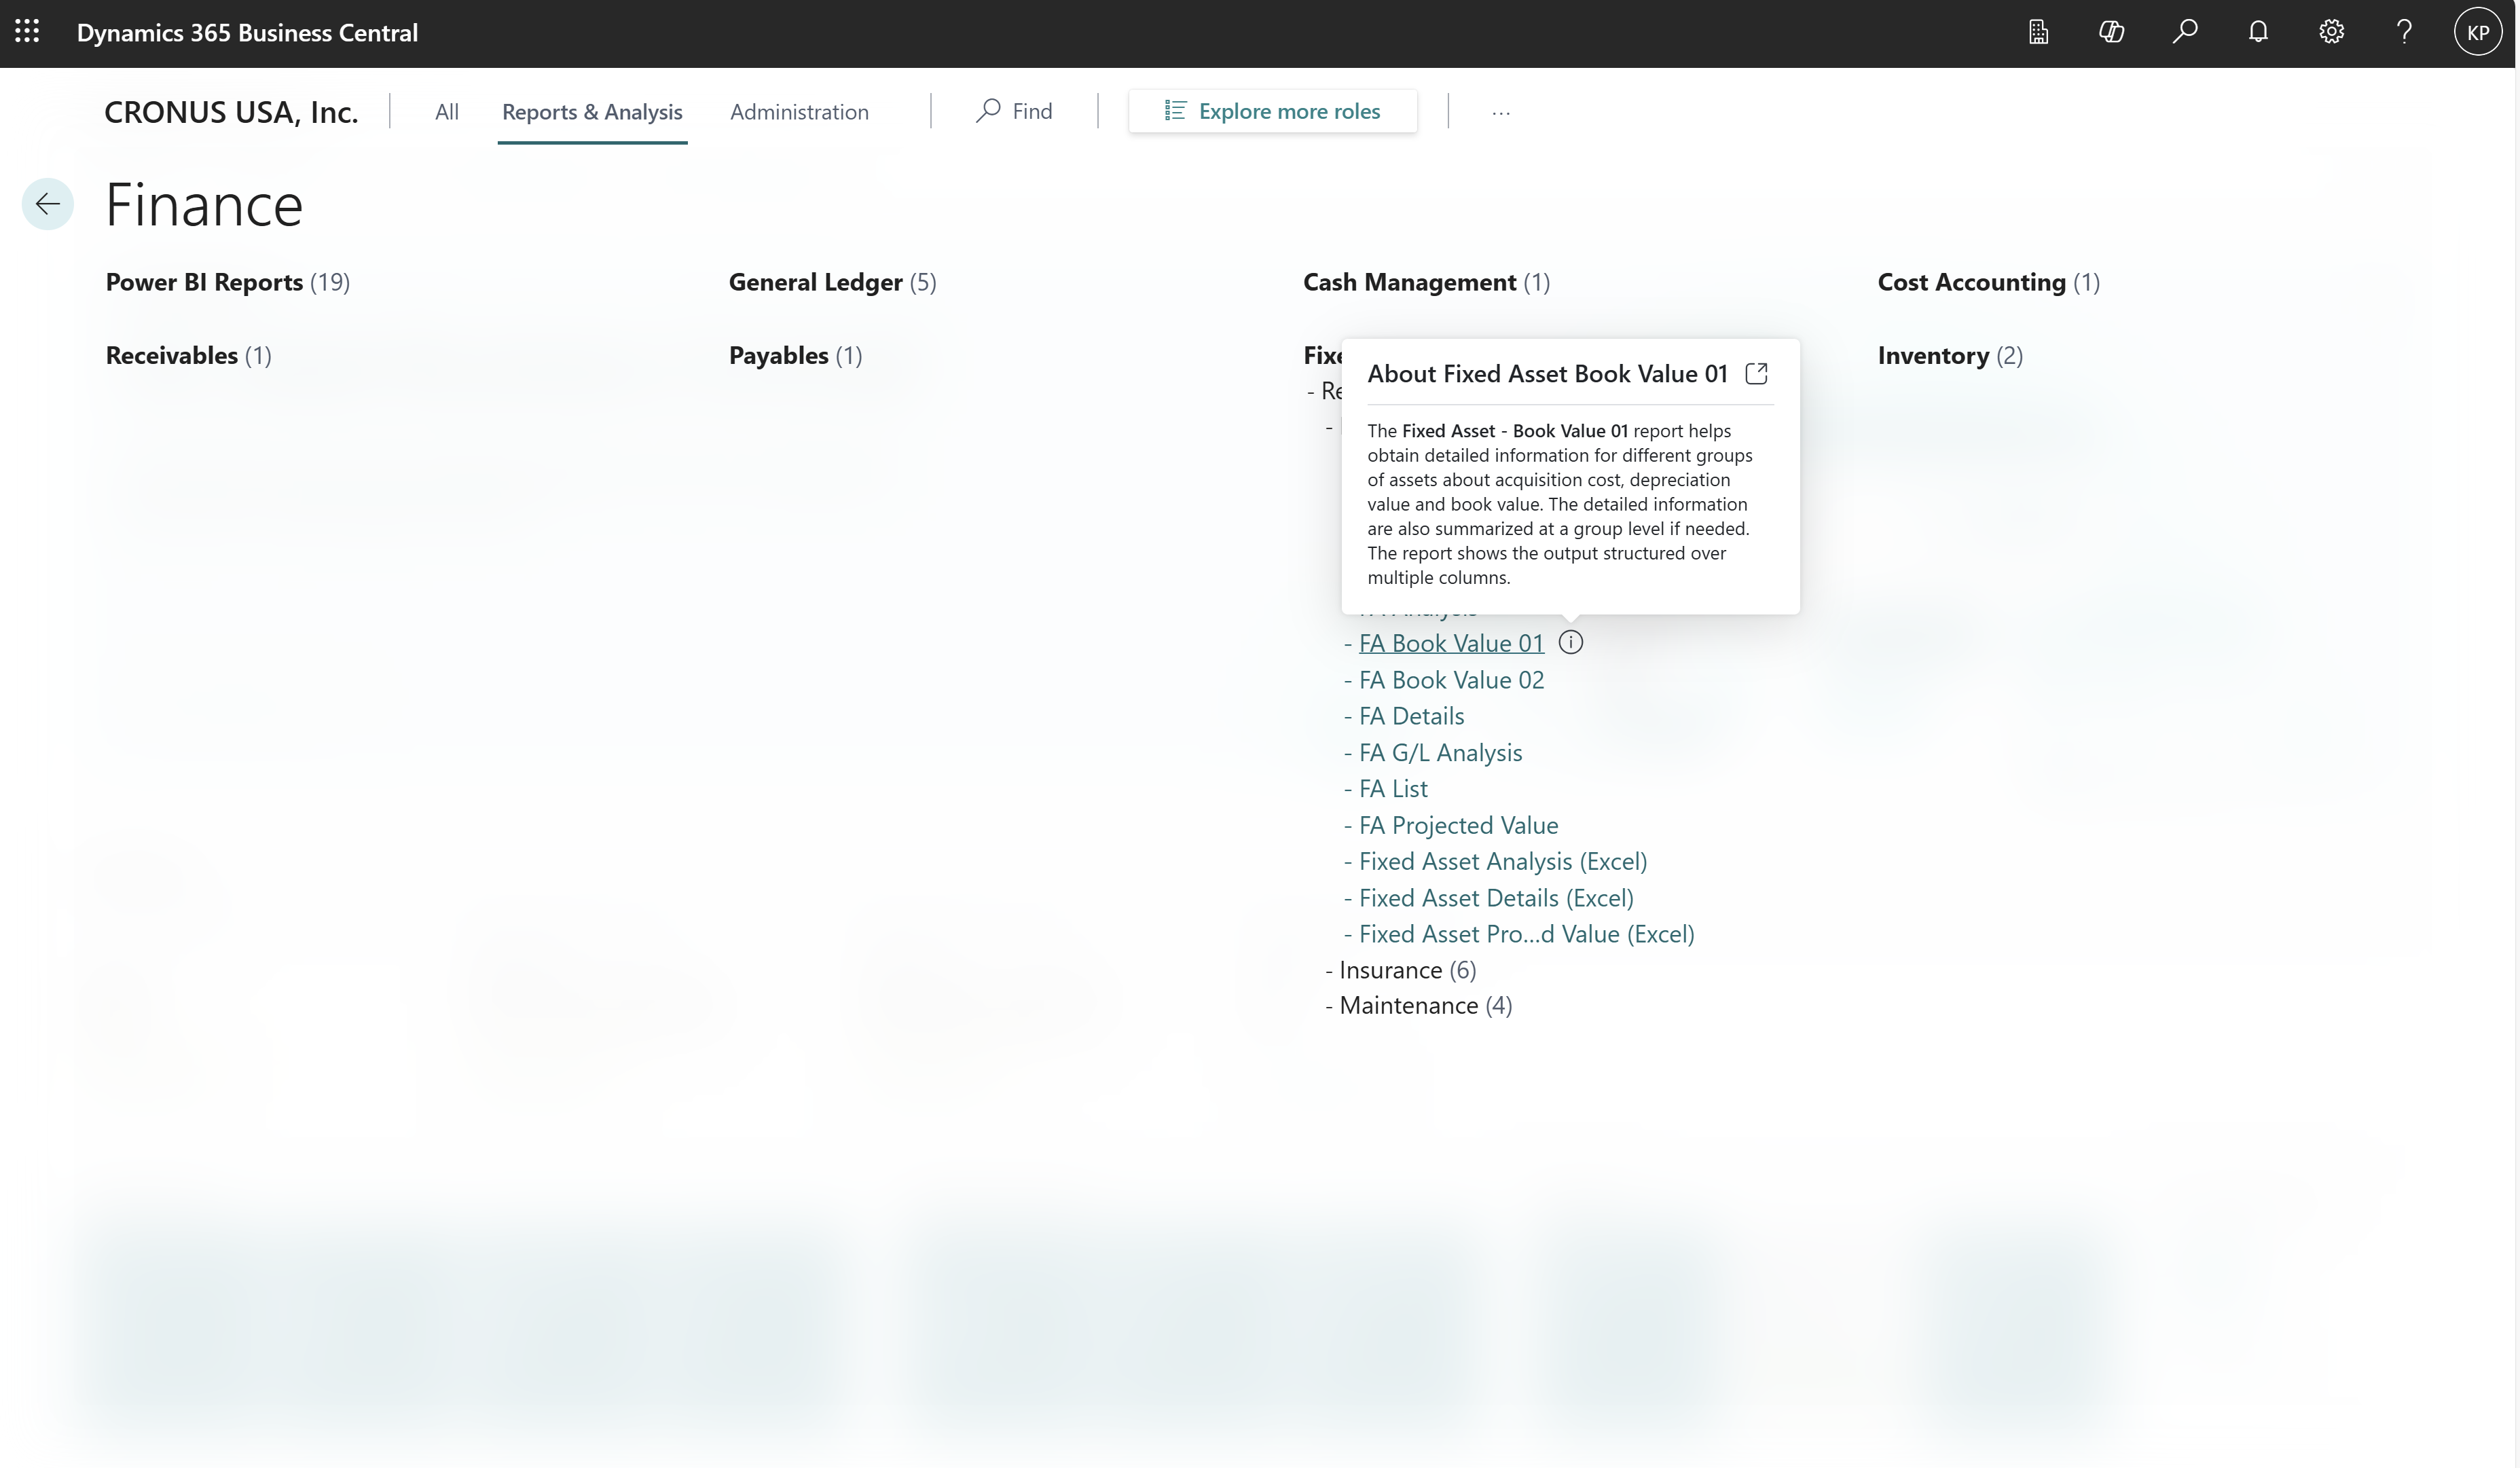
Teaching tips are available for some pages and reports. When that's the case, when you hover over the action for the page or report an information icon displays next to the name. Select the icon to learn more about the page or report.

Explore a page or report
APPLIES TO: Business Central 2025 release wave 1 and later.
You can open the pages or reports in a new window while keeping the role explorer open. To explore an element, select the Open in a new window icon to the left of the element's name. If the page or report has a teaching tip, the tip contains the Open in a new window icon.
Related information
Finding Pages and Information with Tell Me
Responsible aI FAQ for advanced Tell Me
Manage Profiles
Work with Business Central
