Payroll release notes version 17.14.0.0
These release notes include supplemental information about the payroll release version 17.14.0.0.
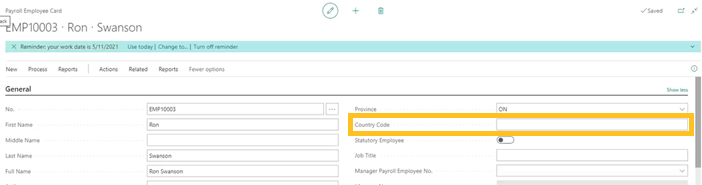
Country Code (Canada only)
If Country Code is not blank, the value is displayed on the T4 Report instead of Canada.
Native Status Earnings-Box 71 (Canada only)
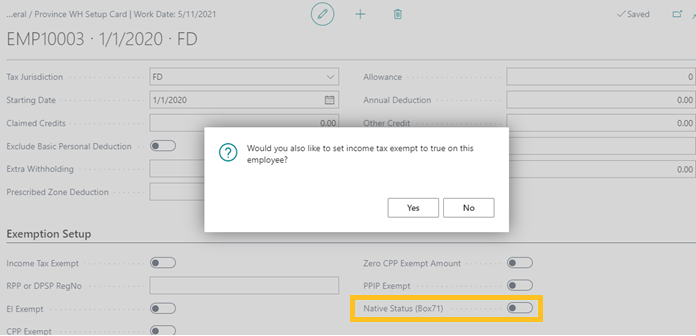
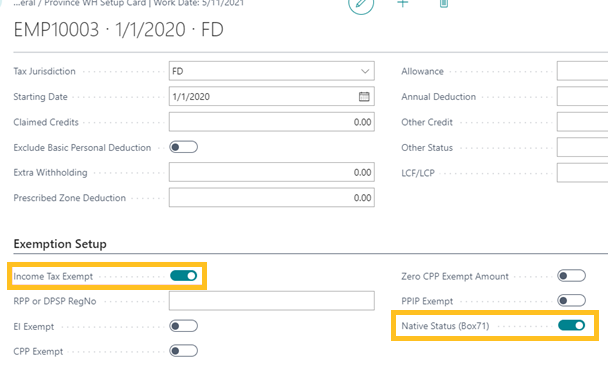
Option 1 – Employee Withholding Setup
On the Federal / Province WH Setup page, if you turn on Native Status (Box 71), a dialog box appears and displays the following text:
Would you also like to set income tax exempt to true on this employee?
Generally, the user will want to choose Yes, which will turn on the exemption toggles. This setting will then exempt all earnings from income tax for this employee.
Option 2 – Payroll Code Setup
With the payroll code setup, you can set particular earnings codes to be exempt from income tax and to move to box 71 in the T4. Simply, open the payroll code setup card of the earnings code that you want to exempt from income tax. The exemption settings are on the Canada Setup FastTab.
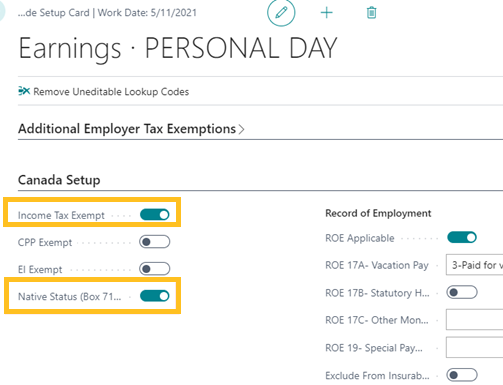
Within the payroll ledger, there is now a Native Status (Box 71) checkbox. If this checkbox is selected in payroll ledger entries, the entry will show in box 71 on the T4.
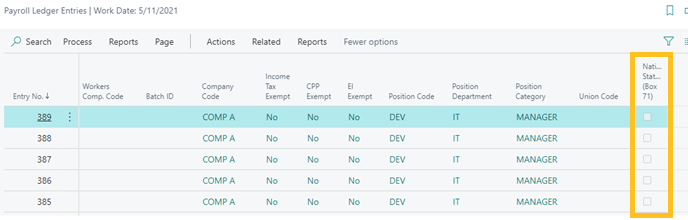
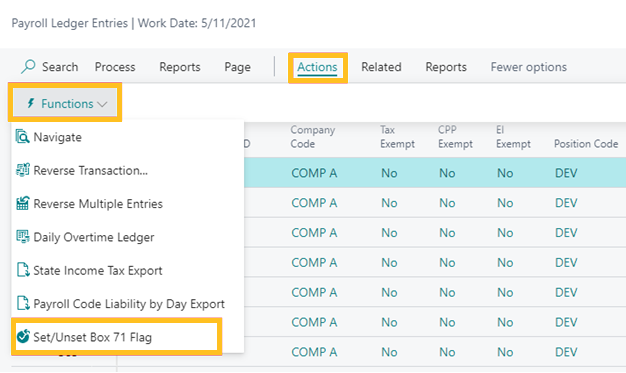
Set / Unset Box 71 Flag
This report will allow you to set certain payroll ledger entries to native / non – native status.
Auto-sync Expense Allocation Lines
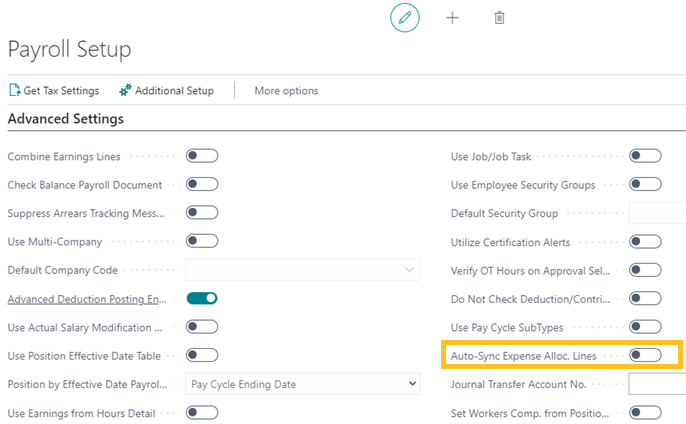
Turn on Auto-Sync Expense Alloc. Lines, and then on the payroll codes that you want to make up the basis, turn on Use in Auto-Sync Expense Allocation Basis and as long as the other payroll codes don't have Exclude from Auto-Sync Expense Allocation turned on, the details behind them, such as job, dimension details, and so on, of the basis and they will be allocated properly.
The following image displays where you can turn on this function.
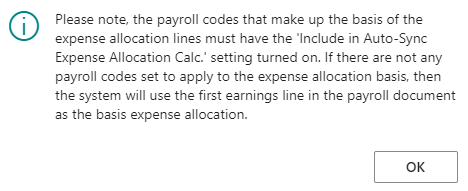
The following image displays the notification message that is triggered before you can confirm turning on this feature:
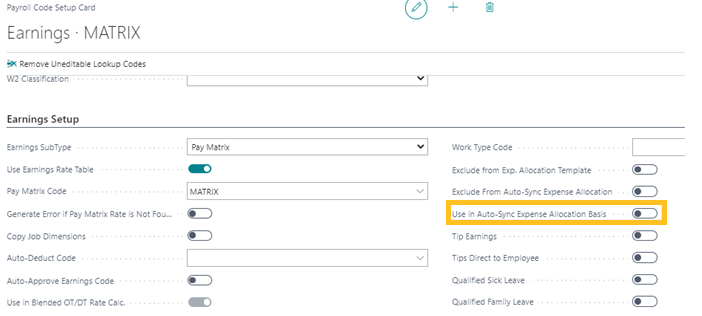
The following image displays the Use in Auto-Sync Expense Allocation Basis field on the earnings Payroll Code Setup Card page. The earnings codes that are not set to exclude and are not set as part of the basis will have all dimensions, jobs, positions, and so on synchronized based on the basis codes allocations. Auto-sync runs at sorting order 89 so it is recommended that the earnings codes that must be synchronized run before with a sorting order previous to 89.
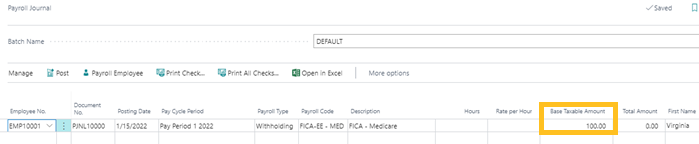
Zero posting
Allows you to enter a base taxable amount and not a total amount in the payroll journal.
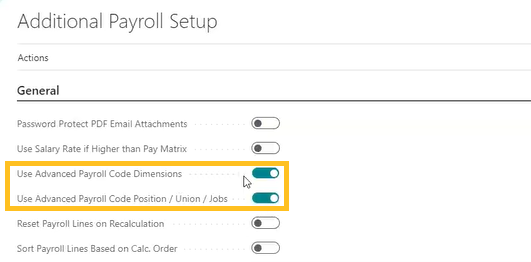
Advanced payroll code dimension & advanced payroll code position / union / jobs
With this feature you can tie a dimension code to a payroll code and have it overwrite the expense allocation values.
To access this feature, turn on Use Advanced Payroll Code Dimensions, Use Advanced Payroll Code Position / Union / Jobs, or both on the Additional Payroll Setup page.
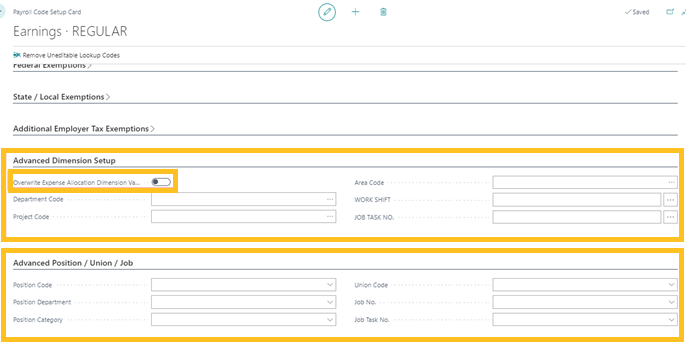
Then you can access the Advanced Dimension Setup FastTabs in the payroll code setup card and turn on Overwrite Expense Allocation Dimension Values.
Use amount sign returned from process procedure
When Use Amount Sign Returned from Process Procedure is turned on, it's going to honor the sign returned from the process procedure, which means if you calculate a negative, it's going to be negative, and if you calculate a positive, it's going to be a positive.

ACA change log table fields
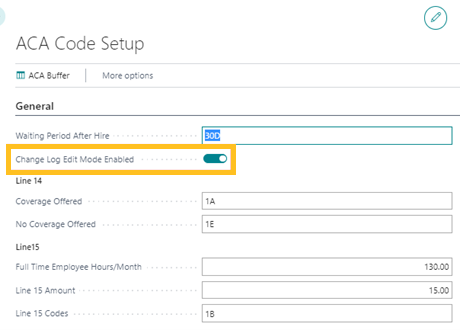
When turned on, you can edit and delete ACA Change Log lines to ensure an accurate ACA 1095C.
Ensure that you enable Change Log Edit Mode Enabled on the ACA Code Setup page.
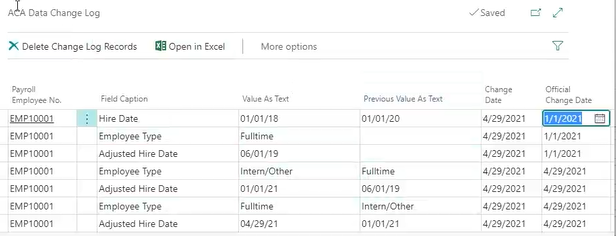
You can access the ACA Data Change Log page for an employee by accessing an employee card, and then choosing Related > Employee > ACA Change Log.
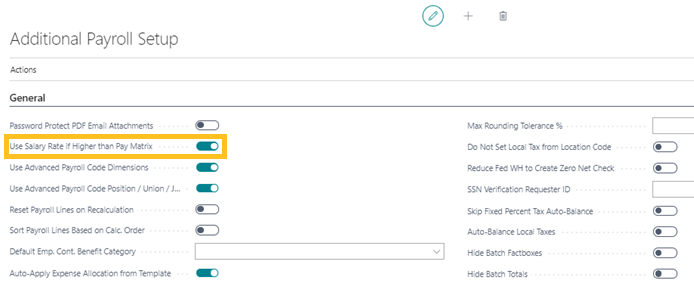
Use Salary Rate if Higher than Pay Matrix
When Use Salary Rate if Higher than Pay Matrix is turned on, the salary card is checked and if the salary card has a higher rate than the pay matrix, it will default to the higher salary rate.
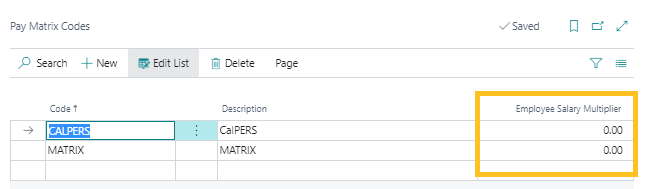
Employee Salary Multiplier
If salary rate multiplied by this field is higher than the pay matrix rate, the salary rate multiplied by this field will be used instead. This is helpful when you are using the pay matrix for OT / DT / Premium Rates that must be compared to the base salary OT / DT / Premium Rate.
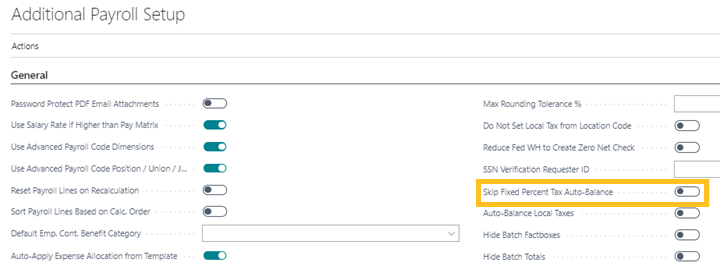
Skip Fixed Percent Tax Auto Balance
The default setting in Primo Payday is to Auto Rebalance. This setting ensures that every pay period when you run your fixed percent taxes, your YTD tax balance is correct. If you want to turn this feature off, turn on Skip Fixed Percent Tax Auto-Balance.
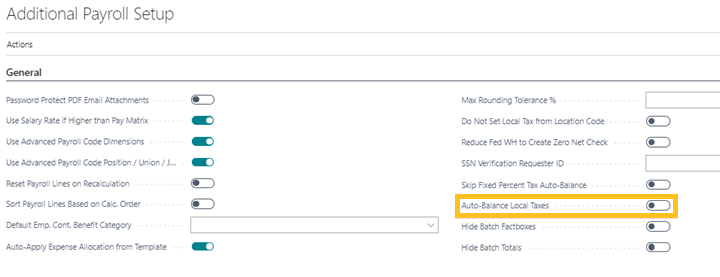
Auto Balance Local Taxes
Due to the complexity of local taxes, the default setting for Auto-Balance Local Taxes is turned off. However, you can turn on Auto-Balance Local Taxes with this new field.
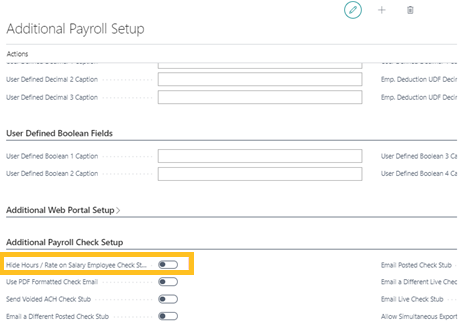
Hide Hours / Rate on Salary Employee Check Stub
You can hide the number of hours and the rate on the employee check stub when Hide Hours/ Rate or Salary Employee Check Stub is turned on. When the field is turned on, amounts are zeroed out on the check stub.
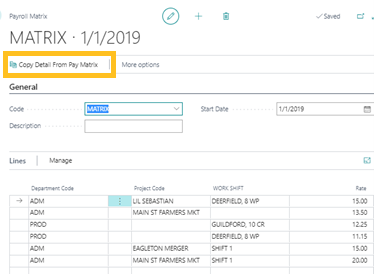
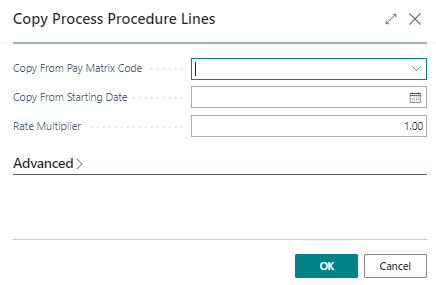
Copy Detail From Pay Matrix
The Copy Detail from Pay Matrix action allows you to copy a pay matrix, and then adjust the rate multiplier. This way you can copy matrix settings from a different matrix code and pull in the same settings with adjusted rates based on the rate multiplier you enter in the rate multiplier field. This functionality allows you to set up the matrix, and then copy it using a multiplier for OT/DT.
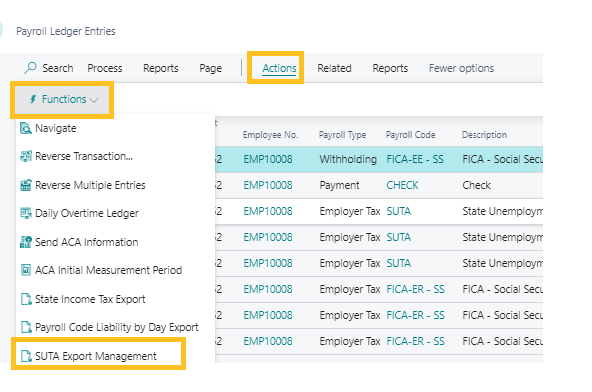
SUTA Export Management
This feature will create the ICESA Format SUTA Export. To access the SUTA Export Management, on the Payroll Ledger Entries page, choose Actions > Functions > SUTA Export Management.

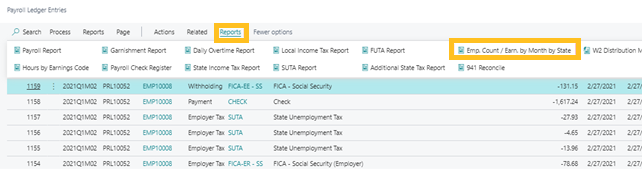
Employee count / earnings by month by state report
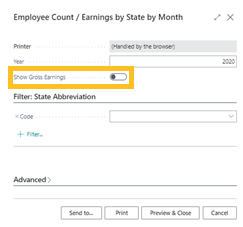
This report shows the number of employees per month that were paid in each state.
You can adjust the report to show gross earnings instead of employee count as well.
The following image is a sample of the report that displays employees in 1 state (IN).

The following image is a sample of the report that displays gross earnings.

Related information
Feedback
To send feedback about this page, select the following link: